Sync feature can be helpful when you are using multiple devices running Windows 10 and linked with the same Microsoft account. Apart from that, you can instantly sync settings instantly after you reset and reinstall Windows 10.
Fix – Sync Setting in Windows 10 is Greyed out or Not working
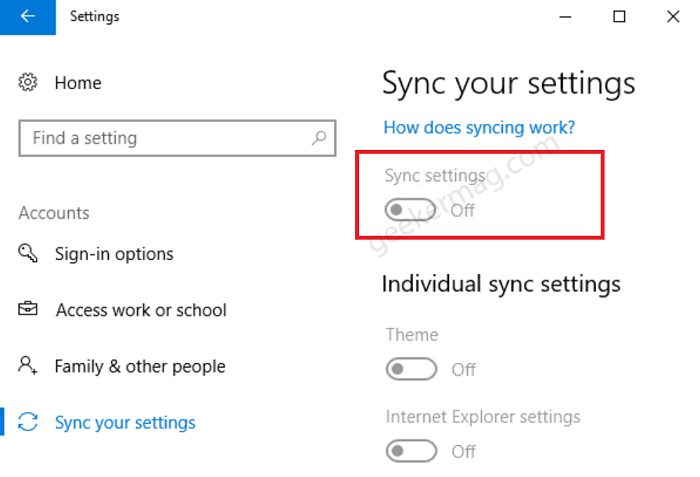
Users can access Sync settings by going to Settings > Accounts > Sync your account. On the right side, you can turn on Sync Settings. However, sometimes you find yourself in a situation when the Sync Settings option is greyed out, or sync doesn’t work. Apart from that, you might get an error message that reads Sync is not available for your account and Sync setting is not working. The following blog post has all possible solutions on how to fix Sync Setting in Windows 10 is Greyed out, Not working, and similar.
Verify Your Microsoft Account
If you try to log in to your computer using a Microsoft Account that was newly created, then this error might occur because of an unverified account. To verify the account, open your Microsoft account, here’s what you need to do: Settings > Accounts > Your Info. Here on the right side, you will find a message that reads “You need to verify your identity on this PC“, click on the Verify link. A quick dialog box will open up, here you need to enter details to verify your account. Once this is done, the problem will be solved.
Enable Sync Settings via Registry Editor or Group Policy
If you are receiving the error even when your account is verified, then here’s how you can forcefully enable Sync settings via Registry Editor or Group Policy In the Start menu search type, Regedit, and when it appears in results, click to open it. Here, you need to navigate to this path: HKEY_LOCAL_MACHINE\Software\Policies\Microsoft\Windows\SettingSync On the right side, make a right-click and select DWORD (32-bit) Value and name it DisableSettingsSync, and set the value of DWORD 2, and then close the Registry Editor. If you are the Administrator of the account, and you want other users to be able to use the sync feature, then you can create another DWORD, with the name DisableSettingSyncUserOverride, and set it Value data to 2. This will enable the sync feature. In case, you’re using Windows 10 Pro edition, then you can achieve the same thing via Group Policy Editor In Start menu search, type Group Policy Editor, when it appear and then navigate to the path- Administrative Templates > Windows Components > Sync your settings In sync, your settings option, locate do not sync, double click on it enable it. For administrator account, you can check the option which allows users to turn on sync.
Your Computer Have School Or Work Account
If your computer is using a school or work account, then the administrator might have limited the sync feature to particular devices. To enable the sync feature if you are using a school or work account, you will have to ask for it from the administrator of the account. You will also see a message on top that reads “Some settings are hidden or managed by organization“ One of the following solutions will definitely fix the Sync setting not working issue in Windows 10. Don’t forget to tell us which option worked for you. In case, you know any other option that we missed to cover in this post, but worked for you, then feel free to share with us in the comments.